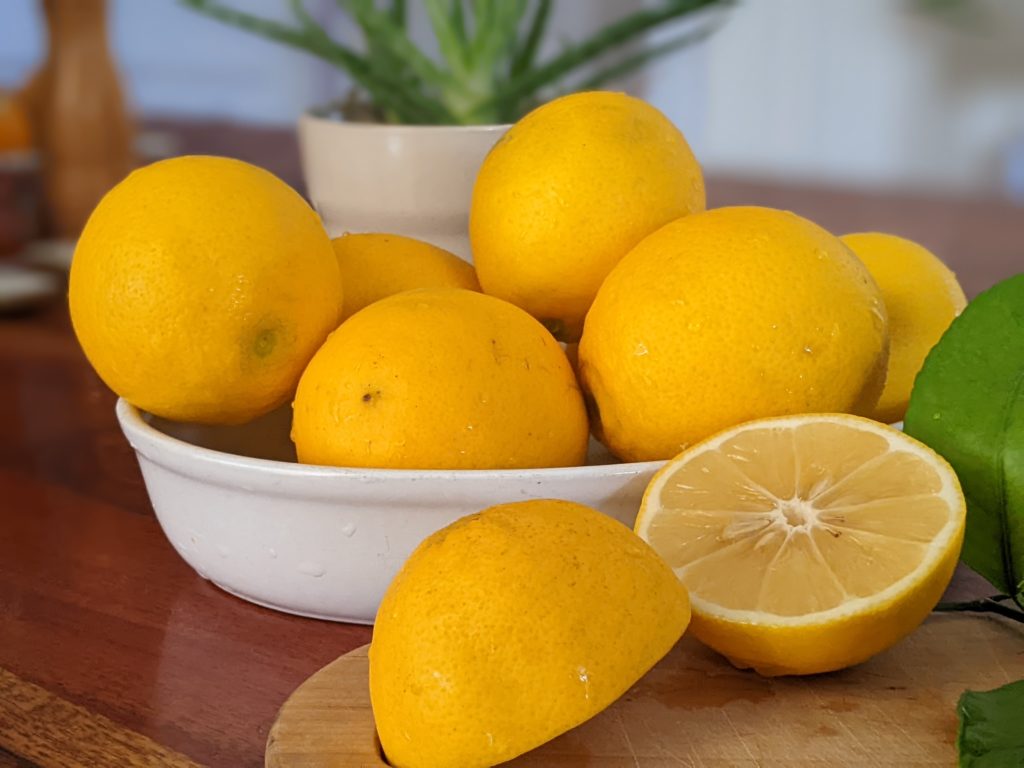
I created 2 kinds of homemade marmalade in early January. Both were made with homegrown citrus – kalamansi and Meyer lemon.
For the kalamansi marmalade, I used 25-30 fruit. For the Meyer lemon, I used about 5 large fruit.
All you need is citrus, water, and granulated sugar. Prep and cutting of the citrus is what takes some time. So put on you favorite music and pull up a chair and make some slow food!
The Basics of Homemade Marmalade
1) Gather some citrus fruit. Try to get it directly from a farmer market, CSA or a friend’s garden. Citrus in stores are often coated with wax or food-based shellac. If you do buy from a store, make sure to wash thoroughly to remove the coating since you will be using the peel.
2) For Meyer lemons and bigger fruit, cut off both ends and save. Cut the fruit in half and start removing the seeds. Don’t throw them away! Line a liquid measuring cup with muslin or cheesecloth and put the seeds, stem ends and segment membranes in there. The seeds/membranes are a good source of pectin and will help firm up your marmalade.
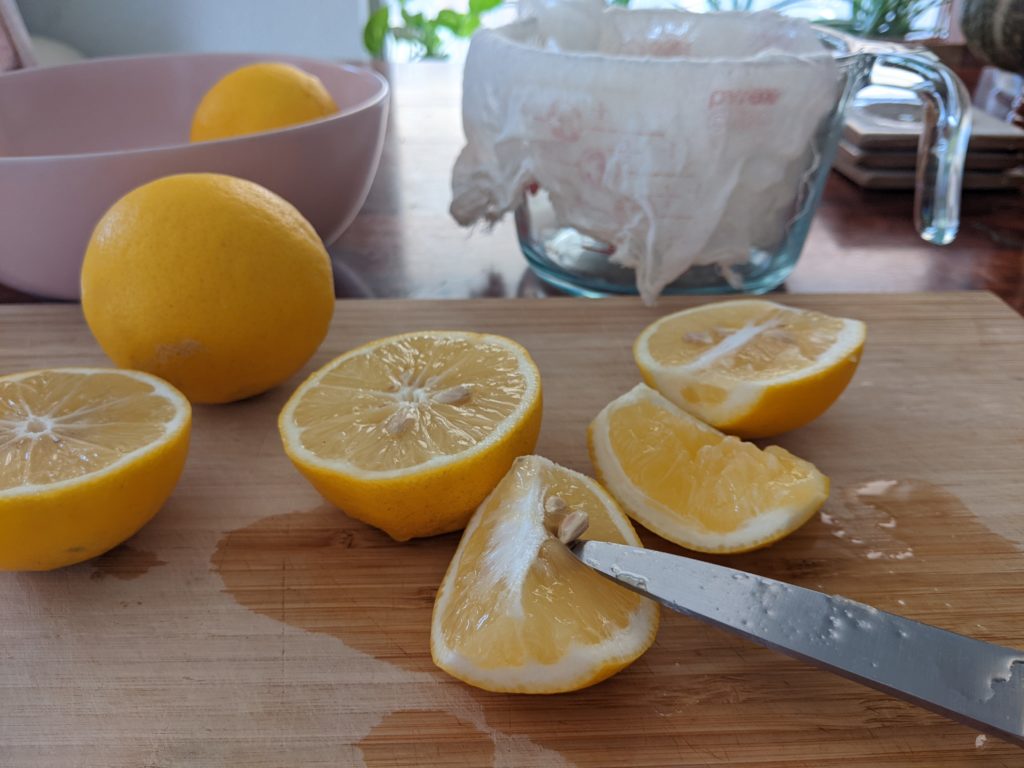
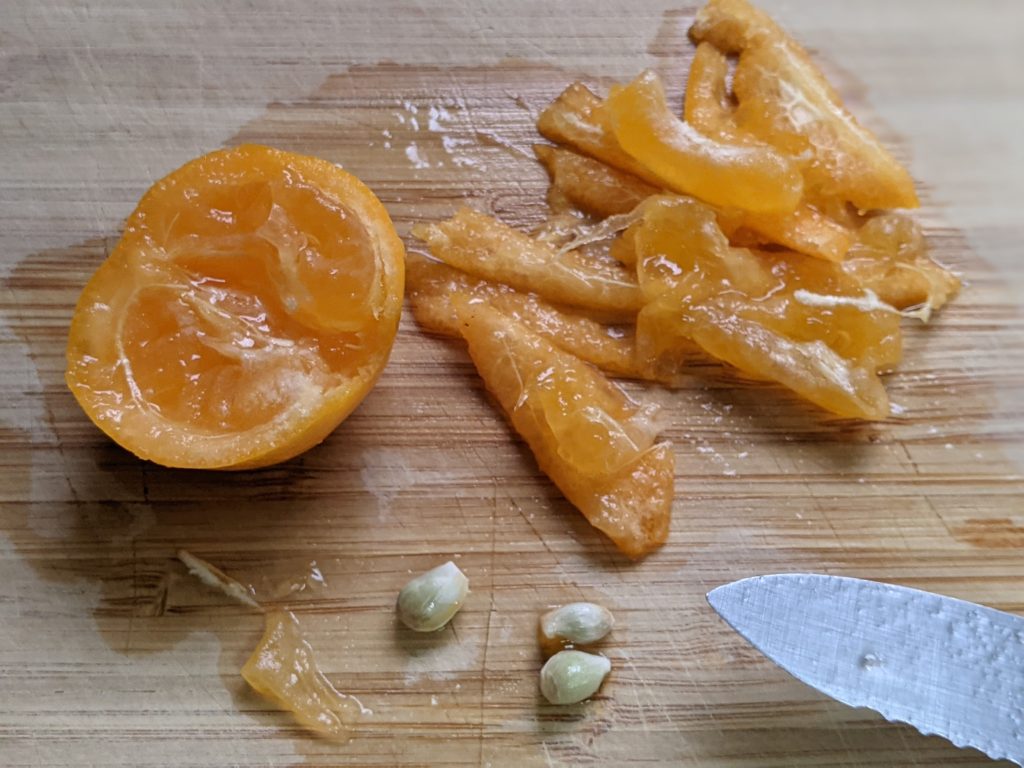
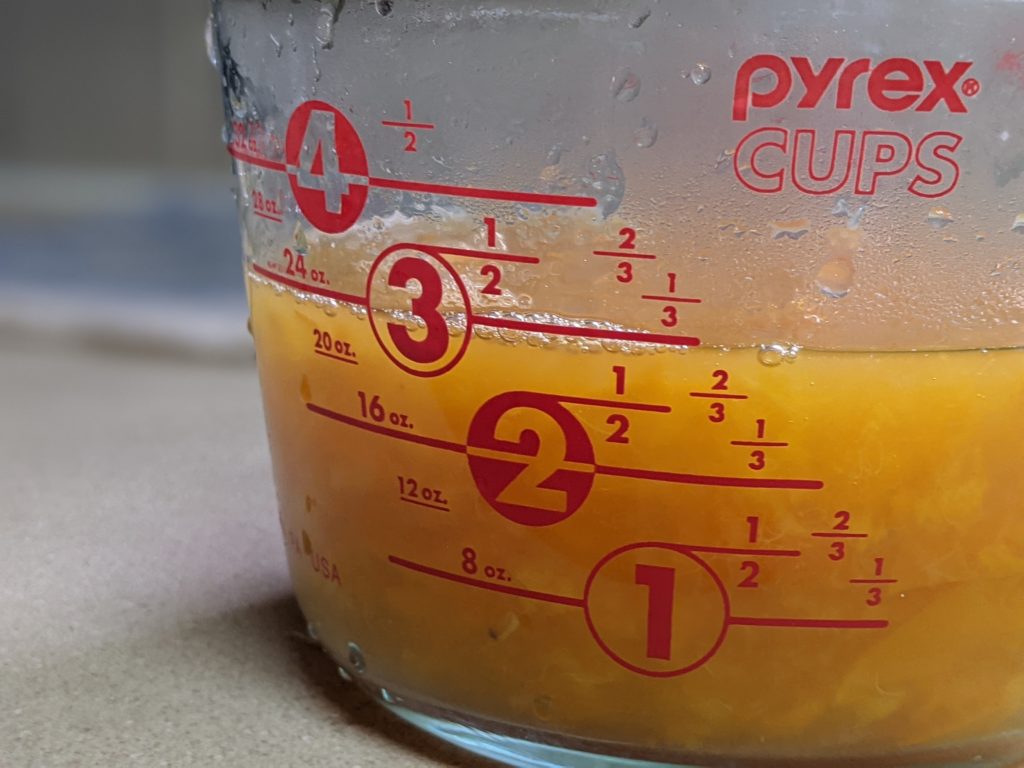
3) For kalamansi and thin skinned citrus, you can cut the peel into thin strips and save in a bowl. Take the seeds and any excess stringy bits and put in your cheesecloth. Pour excess juice from your cutting board into your container with the peels. For larger fruit like oranges and Meyer lemon, you may want to cut into small triangular pieces. Take any pith or lemon segment membranes and place in your muslin/cheesecloth with seeds. Again, squeeze the cheesecloth and put the juice in with your peel pieces. Measure how much peels and juice you have in your liquid measuring cup.
Ratio is 1:1:1
4) For every cup of peels and juice, measure 1 cup of water. Make sure you have at least 1 cup of peels/juice but no more than 6 cups as ratios and cook times will need to change.
So here’s the ratio of peels/juice to water to sugar, 1:1:1.
5) In a non-reactive pot (no aluminum or cast iron please), place your peels and juices.
Tie off your cheesecloth and place in the pot also. Add the water (example 2 cups of juice/peels, add 2 cups of water).
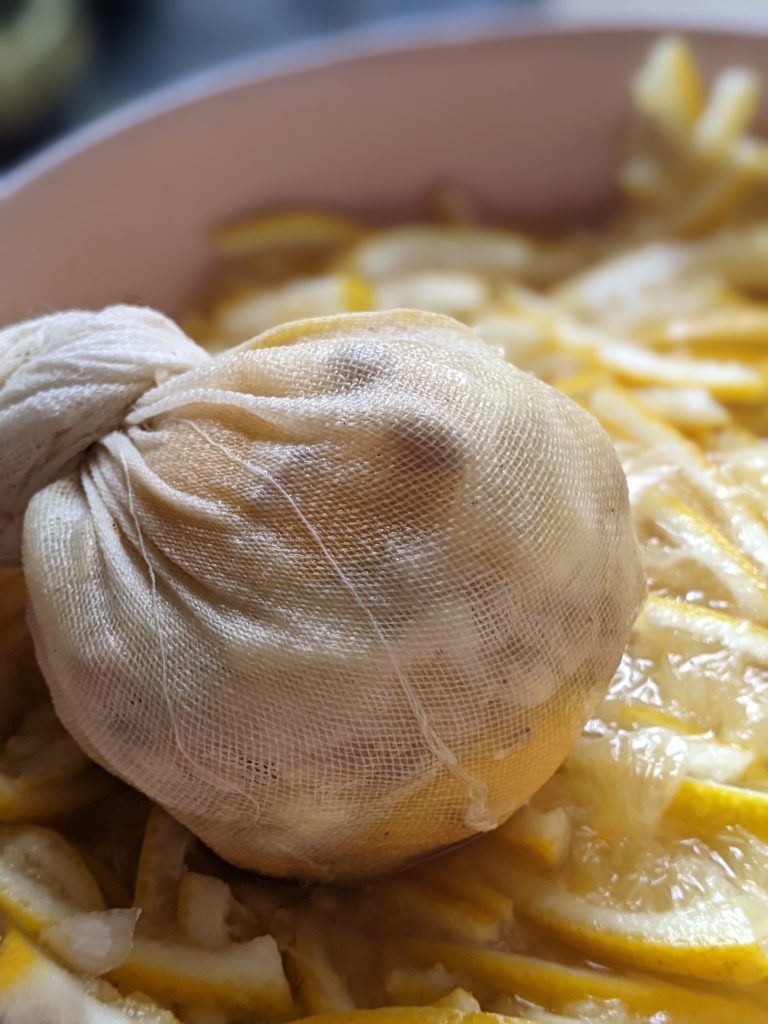
6) You can also put this in the fridge overnight before or after boiling to develop more pectin. This helps with a better set. If you don’t want to wait, bring to a boil, uncovered and cook until peels are soft. The kalamansi will take less time as they are thin peels, about 15 minutes. For the Meyer lemon it could take 30 minutes. Also, place a plate in the freezer for your marmalade set test.
7) Take your chilled mixture if you put in the fridge and put back in your non-reactive pot. Remove the cheesecloth bundle and massage and squeeze out the pectin back into the pot. It will have a creamy consistency. Next, heat on medium and add the sugar slowly, 1/2 a cup at a time and dissolving until adding more. Then, turn up the heat. If you have a thermometer, bring to above boiling. That could be up to 218 degrees or lower if you are at higher altitudes. It’s about 4-6 degrees above your boiling point where you live.
It should be cooking for at least 15 minutes up to 30 minutes to make sure the sugar has melted to help it set. Stir just enough to make sure it’s not burning at the bottom, but don’t constantly stir. If your marmalade is turning brown, you may have the heat too high.
Do at set test: Take your frozen plate and add a teaspoon of jam. Put it back in the freezer to cool. If you take your finger and push the jam and it wrinkles up, you have a good set. If it is still runny, it’s likely it will still be runny in your jar. Cook for a couple more minutes and try again.
Jam Jars
8) This isn’t going to be canned, so make sure you have clean and if possible sterilized glass jars with lids. You can use old jelly jars if you have cleaned and sterilized them. Some dishwashers have this setting. Or while you are cooking the marmalade have a pot of water boiling with your jars.
It’s best to pour the marmalade into hot jars. Let the mixture cool for 15 minutes in the pot to start setting and so the fruit won’t float to the top of your jars. A funnel or using a liquid measuring cup helps make it easier and less messy. Pint sized mason jars (click here!) are great as are tiny Weck jars. Put lids on but do not tighten/clamp. I love Weck Jars and so does my cat! She likes to steal the rubber rings. These are the ones I use for jams and small condiments –> Weck Jars
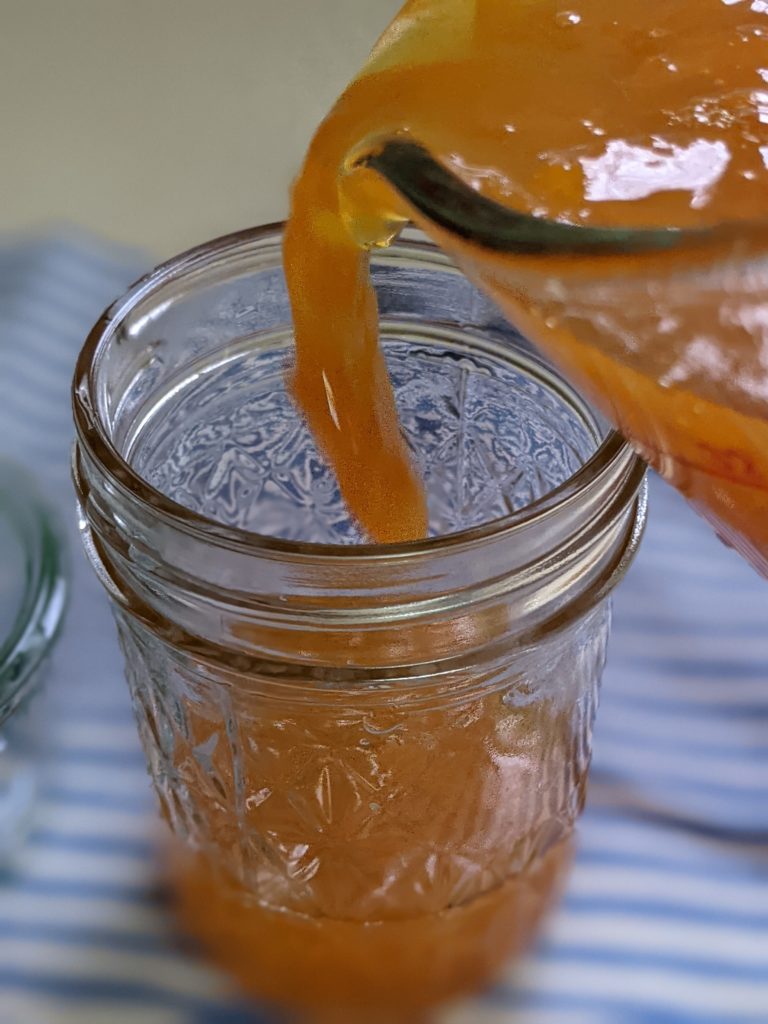
9) Let cool for 12 hours or overnight and then screw on lids tighter. Place in your fridge. If you would like to can the marmalade, you are definitely not lazy like me! Lots of resources for canning homemade marmalade are online….this is for people who want to make it and give away to eat within 1 months time!
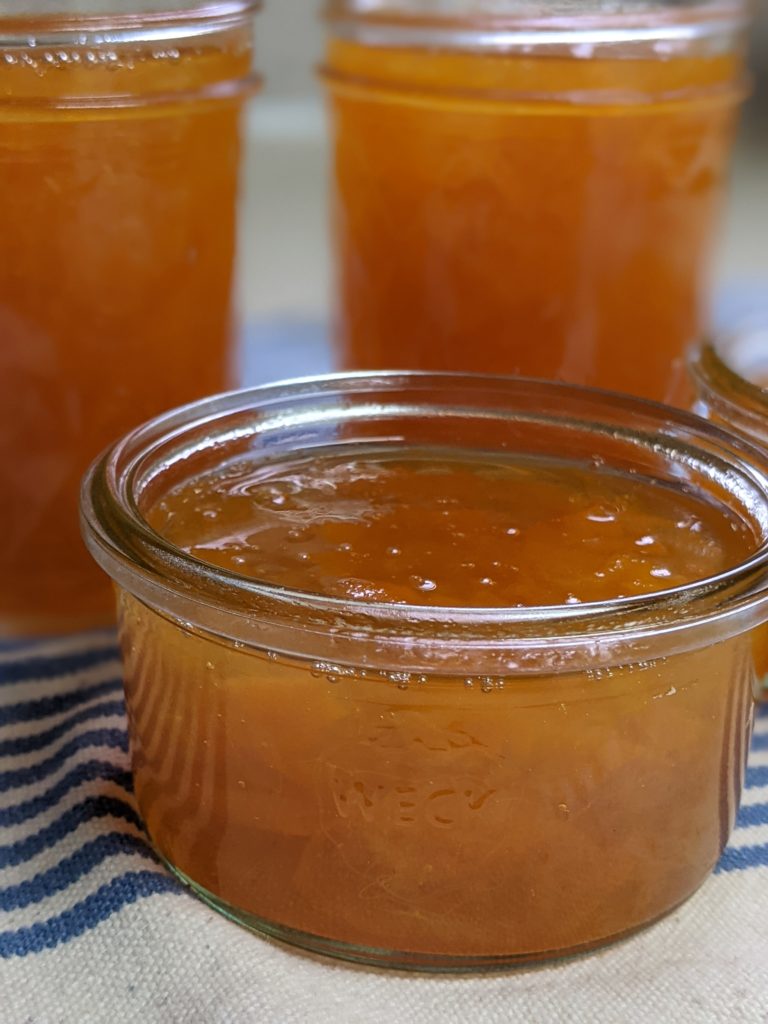
10)This marmalade should be great for eating for a month in the fridge if unopened. Once opened use within a week, 2 weeks max, especially if you are a double dipper or get lots of crumbs/butter/nut butter on your knife. I like to always use a clean spoon anytime I get a condiment out of a jar. Everything can last longer that way with less chance of contamination!
Enjoy your homemade marmalade on your favorite toast or biscuit. If your marmalade doesn’t set or is a bit runny, you can use it as a sauce on ice cream or pancakes or waffles. It could also be the base of a tonic or mocktail instead of juice!
Let me know if you make a couple jars! I always love hearing from readers and what they are making!
Free your lady Marmalade!
This ends my Winter Citrus series. Check out my other posts – including Yuzu Kosho.
Cristina
PS This post contains affiliate links. This helps support my blog and keeps it from being an ugly, AD-laden space. Your purchase helps me at no cost to you!
Leave a Reply